It comes as no surprise that blogging is a popular way to earn a passive, residual income, but did you know that it can also boost traffic for your business and create lucrative professional opportunities, too?
Many people want to learn how to start a blog, but it can be intimidating to navigate all the technical aspects, especially if you’re not great with computers.
Unfortunately, these obstacles are enough to keep most people from realizing their potential with blogging, but that doesn’t have to be the case.
Starting a blog is surprisingly easy, even if you have zero technical experience.
In this article, I outline the basics for starting your blog and take some of the fear and intimidation out of the equation.
Please note this post may contain affiliate links and I may earn a commission if you click them and make a purchase. This is, of course, at no cost to you, and I only share products that I use and love myself. Please read my disclamier for more information.
Why Start a Blog?
If you’re still unsure whether or not you want to start a blog, here are four great reasons to start blogging.
- Work from home: Blogging isn’t a get-rich-quick or easy manner of earning income, but it has a low barrier to entry and costs little up front. Over time, hard-working bloggers can earn a very good living, all in the comfort of their own home and on their own schedule.
- Establish yourself as a writer: Blogging is an excellent tool for future writing work since it gets your name out there and creates opportunities for you to market your writing.
- Scale a business: Blogging is a great way for any company, small or large, to reach people and market their products and services, as well as establish themselves as an authority in the industry.
- Be creative: Not all bloggers are looking for business. Some bloggers just want an outlet for creativity, personal stories, or to build a community and connect with others.
What You’ll Need
To start a blog, you need a few things. First, I’ll share what you need and explain what each item is.
Then, I’ll walk you through the steps to set up each one.
Domain Name A domain name is an address where people go to find your blog.
Generally, you’ll want this name to be related to your business or content, so it’s clear to your potential customers what to expect.
Content Management System (CMS) A CMS is a blogging platform and is the part of the blog where you run the show.
It’s where you, as the administrator, can write and publish content, manage plugins, and manage other aspects of your blog.
This area is not accessible to the public. Website Theme A theme is the design template for your blog, which is used to create visual appeal and make your site attractive to its visitors.
With WordPress, there are many themes to choose from to customize the user experience and create a look that reflects your personality.
Hosting A web hosting service stores all your blog’s files and makes sure your site is up and running.
Different hosts offer different options, features, and plans to begin your blog, and they all have advantages and disadvantages for their use.
Now that you know what you’ll need, let’s get started with the steps to set up your blog.
Pick Your Niche
This process is a little different for individuals and businesses.
Individuals can choose any topic they want, though it’s best to pick something you enjoy and have a passion for so you’ll never run out of topics.
In the future, you may want to offer memberships, services, or products as well so keep that in mind when it comes to choosing a niche.
For businesses, blogs should relate to the products or services they provide.
For example, a chiropractor could write content about natural health remedies, preventative medicine, common health ailments, and patient case studies.
A real estate company could include content on mortgage rates, preapproval, or tips for selling a home.
In either case, the main idea is to pick a niche that has an audience, will provide topics for years to come, and that provides value to its readers.
It’s also important to focus your content strictly on the niche you select.
If your blog is about fitness, it makes sense to write about healthy food options, but not about makeup application techniques.
Not sure what type of blogger you are? Here is a fun quiz we created to help you discover what type of blogger you are, which may help you pick the right niche!
Choose a Blogging Platform
A blogging platform (same thing as a CMS) is a tool that gets your content on the web.
There are many blogging platforms on the market, but WordPress is by far the most popular and easiest to use, which is why it’s a go-to for so many bloggers, regardless of experience level.
Here are a few reasons we recommend WordPress as your blogging platform:
- It is free to use
- It’s easy to set up
- It has been around long enough that it’s secure and reliable
- There are many plugins, providers, designers, and developers to help you customize your blog
WordPress offers two options, depending on your needs:
- WordPress.com, which is a host for your blog that gives you backend service and access to your own domain. It is free to start and offers free and paid upgrades to enhance it.
- WordPress.org, which allows you to host your blog on your own server, with your own domain, and gives you complete control over nearly every aspect of how it operates and generates income. It’s free to use as well, but you need to arrange your own hosting and domain.
WordPress.com is easier to set up and use and requires fewer upgrades, but it gives you less control over your income streams, overall design, and added features.
WordPress.org requires more work to start but offers more control over the look, features, and income streams in the long run.
I always advise my website clients to opt for WordPress.org as it provides the most flexibility.
However, many beginning bloggers want completely free blogging while they decide if it’s right for them. If you’re not committed to the idea of becoming a blogger and want to dip your toes in, WordPress.com may be the better choice.
Here is a more in-depth article comparing the two. WordPress.com vs WordPress.org
Buy a Domain Name
There are many different ways to purchase a domain name.
You can buy one from a company and use a different web hosting service, or you can buy them both from the same place.
We recommend SiteGround for all your hosting needs.
They offer great service and they give you a free domain name when you sign up for a hosting plan! When choosing your domain name, keep in mind that it can always be changed.
They’re relatively inexpensive, and you can transfer domain names from one company to another.
When brainstorming your domain name, try to come up with ideas that reflect your niche or let your customers and readers know what type of content you’ll write.
It should also be catchy and easy to remember, whenever possible.
Before you get too attached to one idea, you’ll need to figure out if your domain is available.
Use a site like Name.com to see if your domain is taken.
If it is, there may be similar suggestions that catch your eye, but if not, you’ll need to start over.
Once you’ve found an available domain name you can move on to the next step.
Choose your Web Hosting Plan
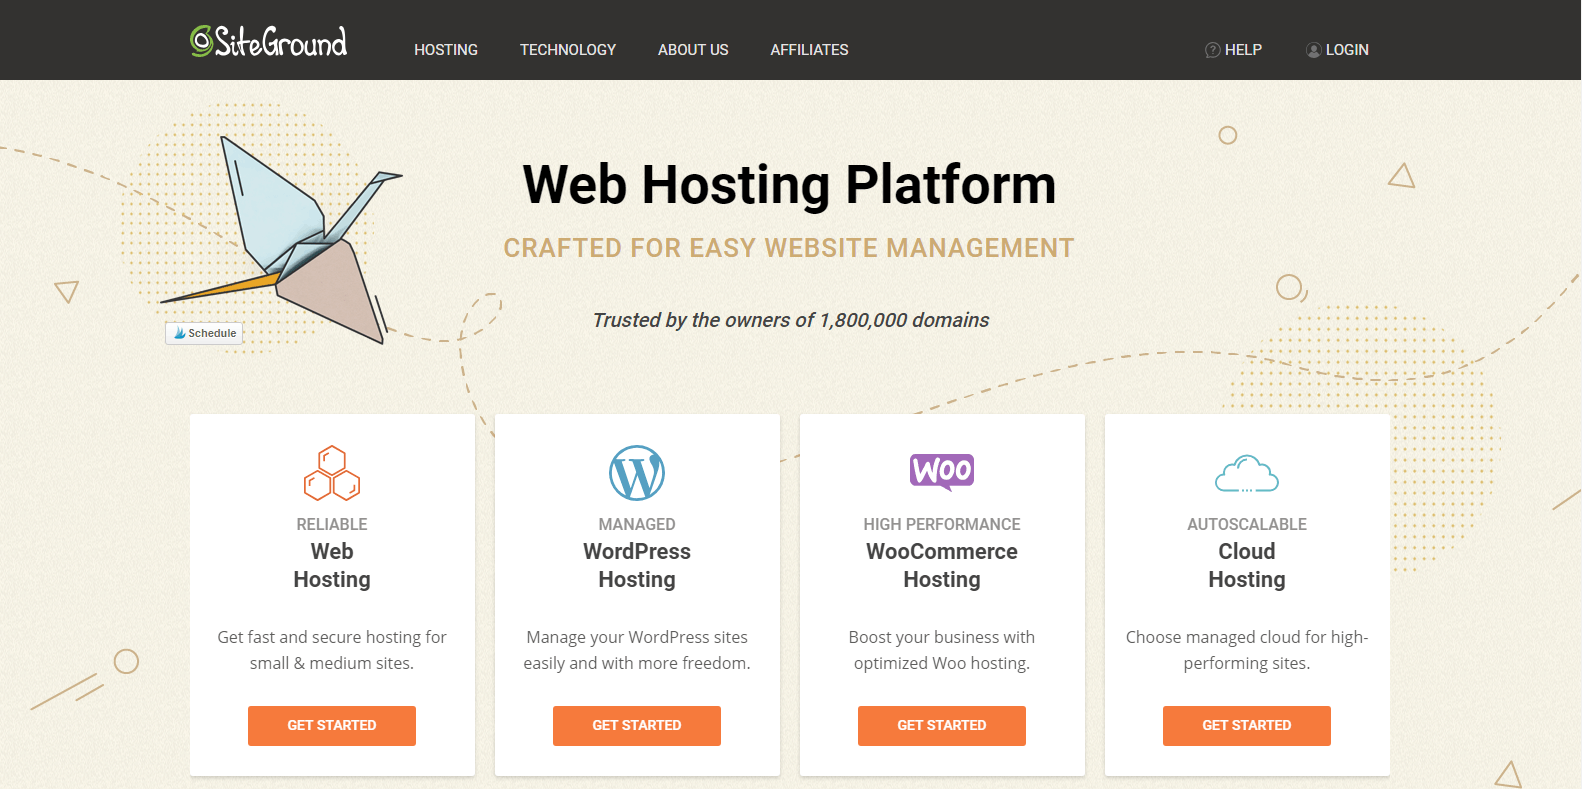
SiteGround offers a number of different plans for every stage and type of blog.
They are one of 3 recommended hosting provider for wordpress.org.
If you’re just getting started, you may want to stick with the most basic and inexpensive plan, StartUp.
As your blog grows, you can always upgrade to a more expensive plan with more features, but the basic plan is enough to get you started.
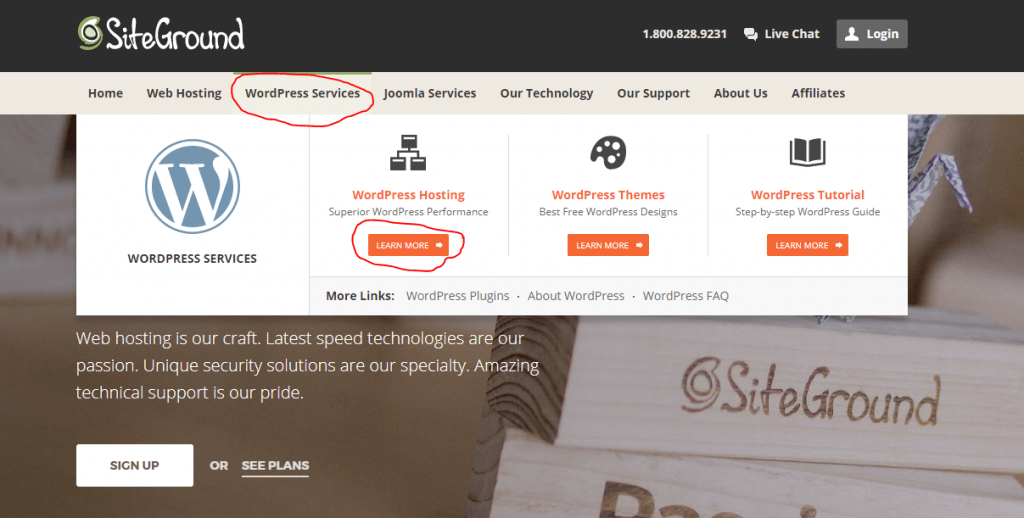
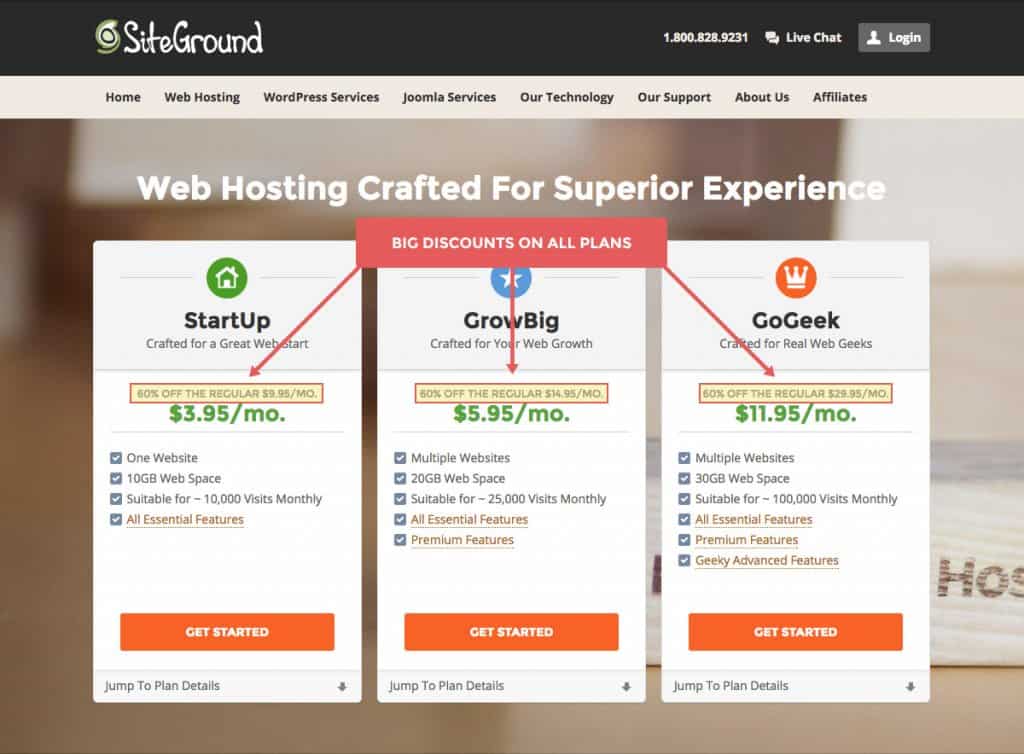
If you’re not sure what you need, here’s a summary of SiteGround’s plans:
- StartUp Plan: This plan is great for people in the beginning stages of blogging. You get 10 GB of space, which is plenty for blogs that receive less than 10,000 visits per month.
- GrowBig Plan: Once your blog starts to grow, this plan offers the option of including multiple websites to your hosting account, includes WordPress SuperCacher to improve the speed of WordPress, and includes a backup and restore service. With this plan, you’ll receive 20 GB of space, so it suits blogs with 25,000 or fewer visits per month.
- GoGeek Plan: This is the biggest plan, and is designed for people with e-commerce or big sites that need staging or GIT integration. This plan offers hosting for an unlimited number of sites, a premium backup and restores service and manual restoration from the SiteGround team. With this plan, you’ll receive 30 GB of space, so it suits blogs that receive 100,000 or fewer visits per month.
Once you’ve selected the right plan for your needs it’s time to fill out the details.
This part is all you since you’ll be putting in contact and payment information for your SiteGround hosting.
No worries though, since this part is self-explanatory.
Choose Your Timeframe
SiteGround offers multi-year discounts, so if you think you’ll be blogging for a long time to come, you may want to purchase a longer registration period to get the most for your money.
They often run deals on their plans, so check for the best deal and decide what works for you.
For instance, there’s an introductory rate for three years, which is an excellent option for beginning bloggers because it offers much lower rates than other hosting services.
With most sites, you lock in the introductory rate for one year, only to have them skyrocket the rate after that.
After you choose your contract length, you have the option to select some great extras, like Domain Privacy or SG Site Scanner, for low prices.
Domain Privacy is a great feature for hiding your personal information, like your address or phone number, from people looking up your domain information.
Otherwise, this information is public. SG Site Scanner is used to enhance your web security and let you know if you’ve been hacked, which can save you a lot of headaches in the future.
Neither of these services is necessary to your blogging, but they are a huge help if you don’t mind spending the money.
Install WordPress
Now the scary technical part—installation. It’s actually really simple with SiteGround’s Account Setup Wizard, which will prompt you to set up and install your new WordPress blog immediately, and only takes a few minutes to complete.
If you’re still worried about the WordPress installation, you can open a support ticket with SiteGround, and they’ll do the hard work for you! After you sign up for hosting, log in to your account and use the “Support” tab to select “WordPress Assistance,” and the support team will install WordPress. It doesn’t get any easier than that!
Website Preferences
If you choose the Setup Wizard, you’ll come to a screen for preferences.
For this portion, you’ll fill in information about the type of blog you’re setting up and the platform you’re using, which is WordPress.
From here, SiteGround will install your server, but you’ll need to fill in your log-in information.
Since hackers are prominent on the internet, especially if your blog becomes popular and successful, try to keep your username unique and difficult to determine.
For instance, don’t pick something obvious, like your name or website name, and keep the password varied with a mix of lower- and uppercase letters, symbols, and numbers.
To access your new blog, go to https://www.[yournewdomain].com/wp-admin, substituting your own domain for the bracket, of course.
Then you enter your log-in information to go to your WordPress dashboard.
Select a Theme
The hard part is over. Now you get to inject a little fun and personality into your blog.
A theme helps you get started with preformatted layouts – removing the difficult coding part from the equation.
This will help remove most of the guesswork on how to make your blog look pretty.
You can expect to pay anywhere from $0 to thousands over the lifetime of your website for a theme.
The idea behind themes is that you want them to be visually-appealing for your readers, fit the tone of your writing style and content, and reflect your personality.
For example, if you run a hip, yoga blog geared toward women, you’ll want a more stylish and feminine theme.
If you run a blog that’s about marketing or business, you may want to keep it minimalistic and less cluttered to look more professional.
It’s all about how you want your readers to view your work, so take the time to think about how your audience will perceive your theme.
When choosing your theme look at the layouts and not just the pretty pictures and be sure to select one that is mobile responsive. You are picking based on the functionality, not the imagery.
Oftentimes, new bloggers abandon the project entirely while trying to pick a theme due to the overwhelming amount to choose from.
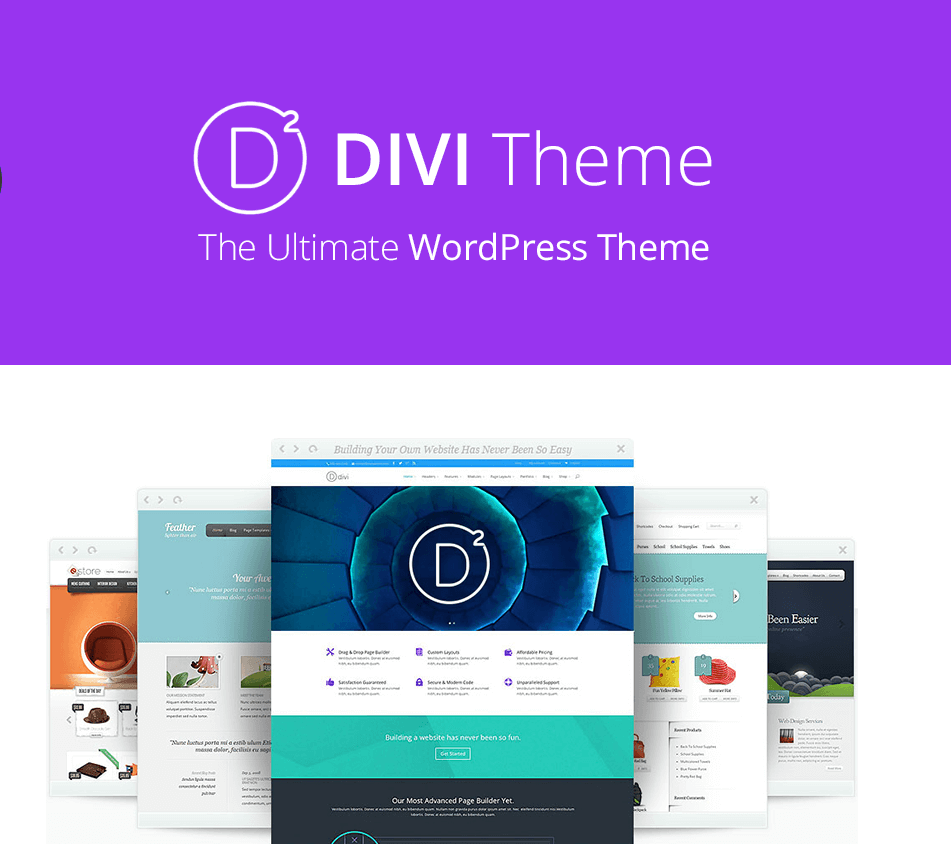
To avoid this fate, we recommend the Divi theme by Elegant Themes.
Elegant Themes does an amazing job at continuously upgrading their theme while maintaining some pretty amazing customer service.
But most importantly is the ability to customize to your preference.
Beginning bloggers can use the front end editor and see the changes in real time.
While expert web designers can dive deeper into the code and really have some fun.
A few other places I recommend looking for a theme are:
- ThemeForest – Avada is our current theme but changing to Divi soon
- StudioPress
Install your Theme
Once you select your theme, it’s time to install it.
This is relatively simple. All you have to do is go to Appearance > Themes and click the “Add New” button.
From there, click the “Upload Theme” button, and you’ll be taken to a .zip file. Then, upload the file and you’re good to go. Note: do not unzip the file.
Just click “Install Now.” Now move to your newly-installed theme and click “Activate” to see your new theme. That’s all there is to it.
Customize
Initially, your theme will look unfinished, which is why you need to customize your theme. Same as before, go to Appearance > Settings > Customize to make small changes to your theme to personalize it.
It’s that simple. If you encounter any problems with your theme, you can contact the provider of your theme for technical support.
They’ll get back to you with detailed instructions on customizing your theme.
You can also find free tutorials on YouTube for the most popular themes, including Divi.
Install Plugins
Once you’ve completed the rest of the setup, you will want to include more distinguishing elements to your blog, like social share buttons, a contact form, and so on.
To customize WordPress with more features, you’ll need WordPress plugins.
WordPress plugins are apps that allow you to add new features to your blog.
There are over 46,000 WordPress plugins available.
They’re easy to install and offer many unique features to personalize your blog and make it more interesting for your readers.
To get you started, read 9 Must-Have (And Free) WordPress Plugins for New Bloggers.
This is a great resource to enable social sharing, improve site speed, and tackle the most feared SEO.
Understanding Posts and Pages
WordPress allows you to create two different types of content—Pages and Posts.
Pages are static and won’t change much from the time you create them.
Generally, these are the pages that include information about you, your products or services, etc., and you’ll be linking back to them in blog posts or other areas of your blog.
The most important page on your blog is your “About Me” page, which tells your readers about you and your business, who you help and how.
This page should be listed in your navigation area or menu and adds personality to your blog.
In addition to an “About Me” page, every blog needs a welcoming “Home” page, a “Products and Services” page, a “Contact” page and, of course, a page that houses your blog.
Posts are used to publish your blog posts. Unlike pages, your posts will make up the bulk of your blog and will be constantly changing.
Once you publish a post, it will appear at the top of your blog page. Posts are usually chronological and include a date, comments, and social share buttons.
You’re Ready to Go!
As you can see, SiteGround makes it fast and simple to set up your new blog, which is why it’s our favorite hosting service for WordPress bloggers.
The easy-to-use interface makes it so simple for anyone to set up a blog, regardless of technical background, and it’s nearly foolproof.
You pay for hosting anyway, so you may as well get a free domain and free WordPress setup while you’re at it.
Even if you happened to experience problems, SiteGround has an excellent support team, and they even call the day after setup to make sure you’re comfortable and see if you have any questions.
That’s some impressive customer service.
That’s really all there is to it! Now you’re ready to start producing great content to gain traction and traffic for your blog and business.
Speed Up the Process
Follow this guide and you’ll be well on your way to blogging.
However, doing it all yourself eats up a lot of time and can be frustrating for the technically challenged.
If time is not on your side, you can hire a professional to help you out.
Once you’ve purchased your domain name and hosting from SiteGround, you can work with a professional web developer to install the theme, customize all the elements, build your pages, and install plugins.
This is a service I offer and would love to help you out. Click here to learn more about our pre built websites.
We’ll do all the heavy lifting for you and have your blog set up in 2 business days.
Next Steps
When creating content, keep in mind that long blog posts rank well in search engines, but be sure that you’re providing value with your content.
Few things are worse than fluff, so make your content long enough to provide thorough information, and short enough to hold people’s attention.
Think about your readers—what problems do they have? What information do they need?
Your job is to solve those problems and keep them coming back for more.
And remember, perseverance, not perfection is the key to success.
So stick with it and keep posting content. You’ll learn and improve as you go – the possibilities are endless!
Once you’re ready to step up your game and start making money with your blog, check out 10 Proven Ways To Make Money Blogging.
Originally Published on AngieGensler.com


